
Disassembling a bunk bed might seem overwhelming at first. Whether you’re moving, updating a room, or simply need more space, you can disassemble bunk beds easily with the right steps and a little preparation, or consider professional help. Your primary goals should be safety, working efficiently, and maintaining all the parts for future use. If you follow each step carefully, you’ll keep track of every piece and avoid stress or accidents.
Before you start, gather the tools you’ll need, set aside enough time, and ask someone to help you if possible.
Preparation Sets the Stage
Preparation is key when working with large, heavy furniture, such as a bunk bed. Start by clearing the area around the bed so you have plenty of space to move. Take off all the bedding, pillows, and mattresses. This makes the bed lighter and gives you more room to work.
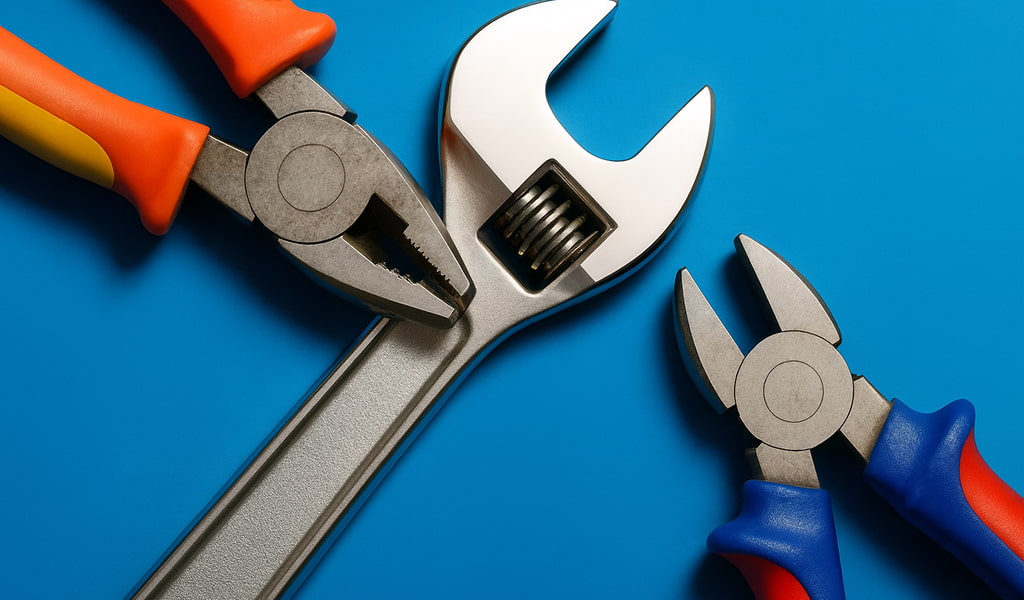
Gather these tools, which most bunk beds need:
- Phillips and flathead screwdrivers
- Allen wrenches (these often come with the bed)
- A wrench or pliers
- Zip-top bags or small containers for screws and bolts
- A permanent marker and masking tape for labeling parts
- A blanket or sheet to lay the parts on so they don’t get scratched
Ask a friend or family member for help. Bunk beds are heavy and awkward to move by yourself. Having someone else there makes the job much safer and easier.
Safety First: Important Reminders
Always keep safety in mind while taking apart a bunk bed. Because bunk beds are tall and have multiple levels, they can be risky if you’re not careful. Follow these tips to stay safe:
- Move slowly and talk with your helper so you both know what’s happening.
- Use a sturdy step stool or ladder if you can’t reach the top bolts easily—never stand on a chair or something unstable.
- If your bunk bed is attached to the wall, find and remove any screws or brackets holding it in place before you start taking it apart.
- Make sure you work during the day or turn on plenty of lights so you can see what you’re doing.
- Wear closed-toe shoes to protect your feet in case you drop any heavy parts.
- Keep small children and pets out of the room while you work to avoid accidents.
Documentation Makes Reassembly a Breeze
Take photos at each step to make reassembling the bunk bed much easier later. Start with wide shots of the whole bed, then take close-up pictures of important spots like joints, ladder attachments, guard rails, and slats. Save these photos in a special folder on your phone or computer so you can find them when you need them. Tape bags of screws and bolts to the matching bed parts and label everything clearly. It might feel like extra work now, but it will save you a lot of trouble later.
Use a simple table like this to keep track of where each piece of hardware goes:
| Part / Hardware | Quantity | Location/Notes |
|---|---|---|
| Long bolts | 8 | Frame corners |
| Short screws | 12 | Guard rails/slats |
| Wooden dowels | 6 | Slat supports |
| Hex nuts | 4 | Ladder attachments |
Write down extra notes as you work, especially if you notice any screws or parts that are stripped or worn out and might need to be replaced.
Step-By-Step: Taking Apart the Bunk Bed
1. Remove Mattresses and Slats
Start by taking off all the mattresses and standing them upright if you have enough space. This gives you more room to work and keeps the mattresses clean. If your bunk bed has loose wooden slats under the mattresses, lift them out and put them together in one spot. Make sure you also collect any plastic holders or connectors that come with the slats and keep them in a labeled bag.
2. Take Off Guard Rails and Ladder
Look at how the guard rails are attached to the bed frame. Most guard rails use screws, bolts, or metal brackets near the head and foot of the bed. Use the right screwdriver or wrench to remove them, and put all the hardware in a labeled bag right away so you don’t lose anything.
Check how the ladder is connected. It might be screwed in, bolted on, or just hooked over the top rail. If it’s hooked, lift it off and set it aside. If it’s attached with screws or bolts, remove them and bag the hardware. Label everything clearly so you know where it goes when you put the bed back together.
3. Separate the Bunk Bed Levels
Most bunk beds are made to come apart into two single beds. Look for dowels, pins, or bolts where the top and bottom bunks connect. Loosen and remove all the connectors. Work with your helper to carefully lift the top bunk off the bottom one. The top section can be heavy and awkward, so talk to your helper and move slowly to avoid dropping it. Place the upper bed on a soft blanket or carpet to protect it from scratches.
If your bunk bed doesn’t come apart easily, you might have to take it apart piece by piece while it’s still stacked. Check the instructions or look for hidden fasteners if you get stuck.
4. Take Apart the Bed Frames
Once you have two separate beds, focus on one frame at a time. Unscrew and remove the headboards and footboards from the side rails. Some beds use metal brackets or hidden latches instead of visible screws, so check carefully for any hidden parts before pulling anything apart.
If a piece won’t come off easily, don’t force it. Double-check for extra screws or fasteners, and look at the instruction manual if you have one. Forced parts can damage the wood or metal.
5. Collect and Organize All Parts
Lay out all the bed frame pieces—side rails, headboards, footboards—on a soft blanket or sheet to prevent scratches. Group all the hardware by where it came from, using labeled bags or containers. If you’re taking apart more than one bunk bed, keep each set of hardware separate.
Write down any notes about damaged or missing parts as you go. Staying organized now will make putting the bed back together much faster and easier, whether you do it next week or next year.
Common Variations and Tips
Bunk beds come in different shapes and sizes, and the way they’re put together can vary a lot. Here are some things you might see and how to handle them:
- Wooden peg connectors: Older bunk beds often use wooden pegs to hold the frames together. If these pegs get stuck, gently tap them with a rubber mallet to loosen them.
- Metal frames: Some bunk beds use metal tubes and Allen bolts. Make sure you have the right size Allen wrench before you start taking the bed apart.
- Built-in drawers or desks: Take out any drawers or desks first. They make the bed heavier and harder to move.
- Decorative finials or posts: Unscrew or unbolt these pieces before you try to move the main parts of the bed.
Sometimes, paint or age makes parts stick together. Be patient and carefully wiggle the pieces until they come apart.
Why Careful Disassembly Matters
Treat taking apart a bunk bed with the same care you would use when building expensive furniture. If you keep all the screws, bolts, and other hardware together, you won’t have to rush out to buy replacements later. Protecting the bed’s finish keeps it looking good and helps it last longer. Hold on to the instruction manual and label every bag of hardware so putting the bed back together is quick and easy, even if you move to a new place.
Here are some extra tips to stay organized:
- Use color-coded stickers to match parts that go together. For example, put a red sticker on both the headboard and the hardware bag for that section.
- Take a photo of each hardware bag and what’s inside, then save the pictures on your phone or print them out.
- Store all the smaller bags of hardware in one big, clearly labeled tote or box so nothing gets lost.
- Write down any steps that seem tricky or confusing so you can remember them later.
- Keep all the bed parts and hardware in a dry, safe place to prevent rust or damage.
Spending a little extra time to organize everything now will make rebuilding the bunk bed much faster and less stressful when you’re ready to set it up again.
Special Considerations for Dorms, Rentals, and Resale
If you live in a rented apartment, dorm, or facility, always check with the management before you start taking apart the bunk beds. Ask if there are any rules or special instructions for disassembling furniture. Following their guidelines helps you avoid extra repair charges and makes sure you can put the bed back together if needed. Some places might even require you to have maintenance staff help or supervise the process.
If you plan to sell the bunk bed, take it apart carefully to keep it in good condition. Save all the screws, bolts, and other hardware, and include them with the bed. If you still have the original assembly instructions, give those to the new owner too. You can also write your own step-by-step notes or print out the photos you took during disassembly. This makes it much easier for the next person to rebuild the bed and increases its value.
When to Seek Professional Help
Taking apart a bunk bed can be a rewarding and manageable job, but sometimes it’s smarter to call in a professional. If your bunk bed is very complicated, made from heavy materials, or has extra features like built-in shelves or lighting, a professional can take it apart safely without causing any damage. Furniture experts have the right tools and experience to handle even the trickiest beds, making sure every piece is labeled and stored properly.
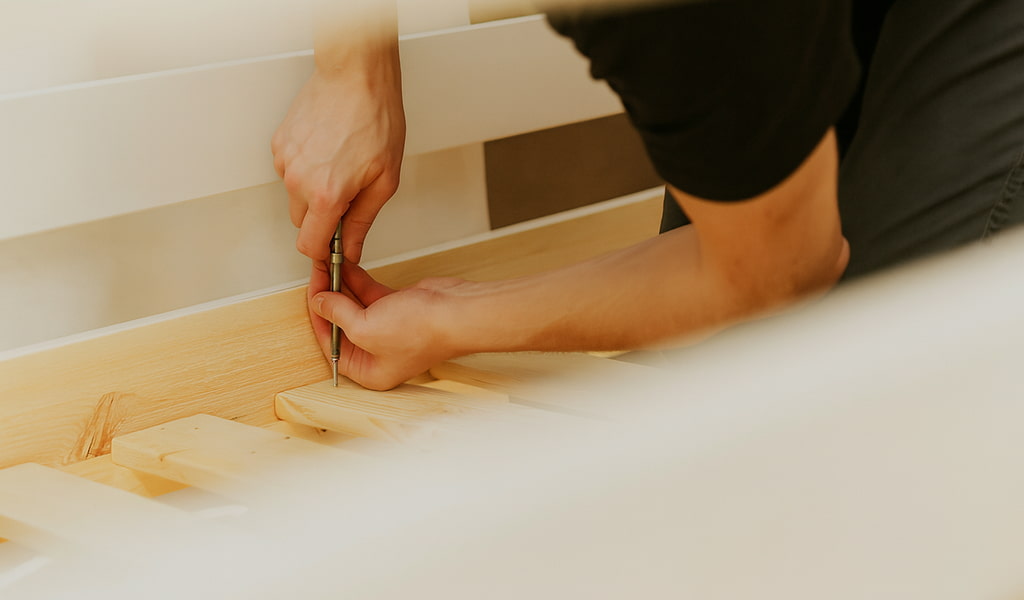
You should also think about hiring a pro if you’re short on time because of a move or if your room is small and hard to work in. Professionals can quickly and safely take apart the bed and pack it up, which helps avoid problems when you need to set it up again in your new place.
If you’ve lost the instructions or can’t find all the hardware, an expert can still figure out how to disassemble the bed without breaking anything. Their experience helps them handle confusing or unusual furniture.
When you hire a professional such as Fit My Sofa, you get peace of mind knowing your furniture is in good hands. Choosing a service can turn a stressful, time-consuming project into a smooth and easy process, so you can focus on other important parts of your move or room makeover.
Conclution
In conclusion, taking apart your bunk bed with careful planning and step-by-step organization not only keeps your furniture safe but also gives you the confidence to handle a big project on your own. By focusing on preparation, safety, and staying organized, you make it much easier to put the bed back together later and help your bunk bed last longer.
Every step you take to carefully disassemble the bed protects its quality and saves you time and stress in the future. Whether you decide to do it yourself or hire a professional, you’re creating a more organized and efficient living space. This process doesn’t just make your room look better—it also shows your responsibility and skill.
Let this experience prove that you can handle home projects with care and attention to detail. Your focus on safety and your effort to keep every part in good shape show real ability. Move forward with confidence, knowing that when it’s time to reassemble your bunk bed, you’ll be ready to do it with ease.


