
Moving a full-size dresser through a narrow hallway can feel like squeezing a big ship through a small canal. The good news is that most furniture comes apart more easily than you might think, and tight spaces, especially in bustling environments like NYC apartments, are easier to handle if you slow down, measure carefully, and take things apart step by step.
Taking furniture apart isn’t just about fitting it through the door. When you do it right, you protect the walls, floors, corners, and the furniture itself. It also makes putting everything back together much easier and less stressful once you’re inside, facilitating the reassembly process.
Why Tight Spaces Change the Rules
In an open room, you can easily tilt, turn, and move furniture without hitting anything. Tight spaces take away those options. Even one extra inch on a couch arm, bed rail, or tabletop can turn a simple move into a struggle with scraping and risky lifting.
When you take furniture apart, you turn a tricky 3D problem into smaller, flatter pieces that are easier to carry, stack, and turn, which is especially useful in small areas. Each piece weighs less, which really helps when you’re going up stairs, stepping over thresholds, or working without much help.
Think of it this way: you’re not “breaking down” furniture, such as the couch. You’re just taking it back to the same parts it had when it was first put together—only now, you can label everything better than the factory did.
Measure First, Then Plan the Path
Before you remove any screws, figure out what you’re working with. Measure the width and height of doors (including the trim), the width of hallways, the ceiling height at stair landings, and the tightest corner, which is often near a railing or closet. Then, measure the furniture at its widest and tallest points, including any feet, knobs, or overhangs.
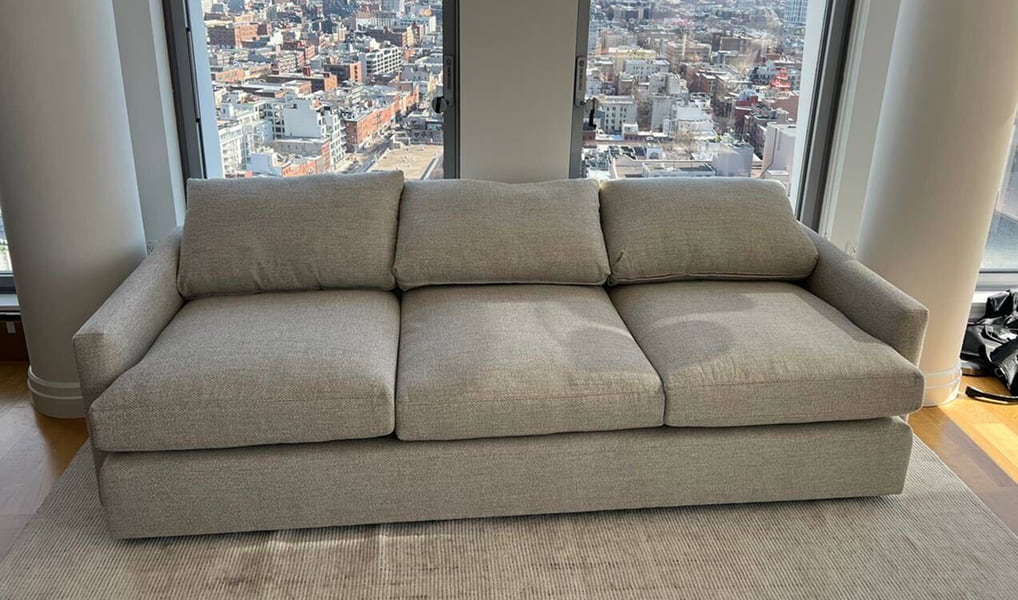
Next, decide how you’ll carry each piece. Many pieces of furniture that won’t fit through a space horizontally will fit if you turn them upright. A tabletop that can’t make a turn when flat might slide through on its side. A bookcase might only fit after you remove the back and shelves, so the frame can bend a little without breaking.
After you plan the path, set up a small area near the tight spot for parts, hardware, and tools. This way, you don’t have to walk back and forth with open screw holes that could collect dust.
A quick check can save you from taking apart something you could have moved in one piece.
- Doorway width and trim clearance
- Stair landing ceiling height
- Turning space at corners
- Elevator depth and panel locations
- Threshold bumps and floor changes
A Compact Tool Kit That Gets the Job Done
When you’re working in tight spaces, you need a tool kit that’s effective, quiet, and easy to carry with one hand. Choose tools that help you avoid stripping screws, keep fasteners organized, and protect surfaces while you work on the floor.
The best kit isn’t the biggest one—it’s the one that keeps you from using the wrong tool or losing hardware in your pocket.
A solid “small tote” kit should include:
- Driver essentials: a multi-bit screwdriver, Allen key set (both metric and SAE), and a stubby driver for tight spots
- Grip and pull tools: an adjustable wrench, needle-nose pliers, and a small pry bar or trim tool for staples and backing panels
- Protection and control: painter’s tape, zip bags, a permanent marker, a moving blanket, a rubber mallet, and a utility knife with a fresh blade
If you need to keep things quiet (such as in apartments or late at night), hand tools also help you avoid overtightening screws when reassembling things.
A Repeatable Method That Prevents Mistakes
Disassembly can become confusing if you attempt to do everything at once. Following the same efficient steps every time keeps parts organized and helps you focus on the next step.
Start by making everything visible. Clear off surfaces, remove drawers and cushions, and identify all the connection points for disassembly. Then, work from the easiest joints to the main structural ones.
This simple process, which includes furniture disassembly for tight spaces, works for most furniture, from bed frames to wardrobes, thanks to the organized approach and service it provides:
- Take photos before you start, including close-ups of brackets and the underside.
- Remove loose parts first, like drawers, shelves, doors, cushions, and slats to facilitate disassembly.
- Label matching parts in pairs (like left rail to left post) using painter’s tape.
- Bag hardware by step and location, then tape the bag to the matching part.
- Separate large panels and rails, making sure the frame stays supported so joints don’t get stuck.
- Wrap edges and corners before carrying parts through compact spaces.
Remember this rule: if a part won’t come off easily, stop and look for a hidden screw or fastener instead of forcing it.
Hardware, Fasteners, and the “Mystery Parts” Problem
Most problems during reassembly happen because hardware gets mixed up. A pile of screws isn’t just a pile—small differences in length can split wood, poke through surfaces, or stop a drawer from working right.
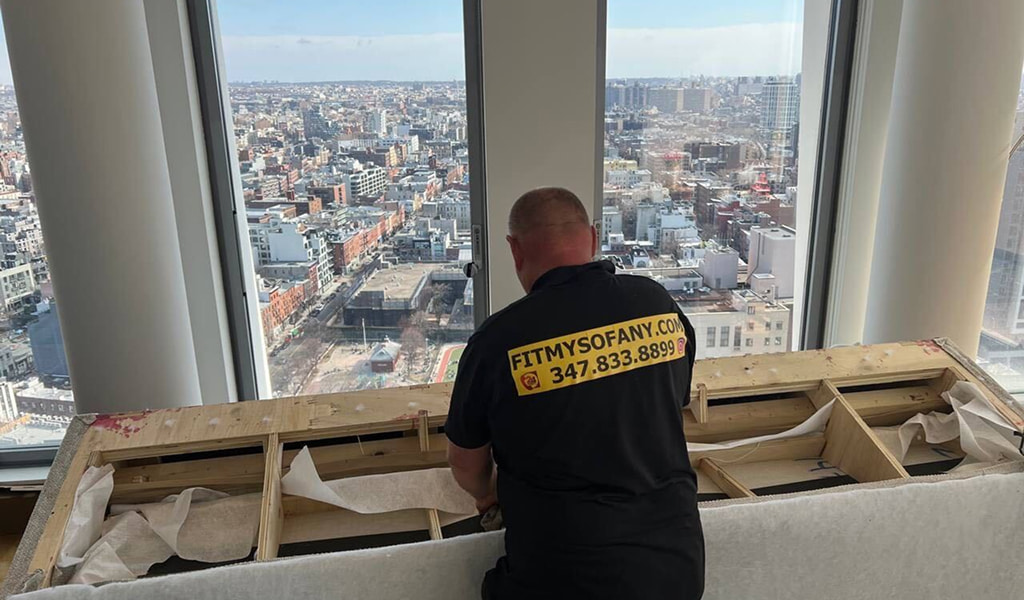
Use the “one bag per step” habit. Put small parts in zip bags labeled with a marker, and use painter’s tape to attach the bag to the matching furniture part. When the hardware stays with the part, you won’t end up with screws in one room and furniture in another.
Photos are your backup memory. Take wide shots for orientation, then close-ups of bracket directions, washer order, and screw length. If you want to be extra careful, put a coin or a tape measure in the photo for scale.
Watch out for these common problems in tight spaces, especially in compact NYC apartments:
- Cam locks that loosen if they turn a little while you’re carrying the piece
- Knock-down connectors hidden behind fabric covers
- Backing panels stapled in place to keep things square (remove these carefully and put them back on straight)
Furniture-Specific Tips for Narrow Halls and Sharp Turns
Not all furniture comes apart the same way. Some pieces are easier to move if you take them apart completely, while others do better if you only take off a few parts and keep the main structure together. The table below shows the best first steps for different types of furniture when you’re dealing with tight spaces.
| Furniture Piece | Best First Removals | Hidden Fasteners to Check | Tight-Space Tip |
|---|---|---|---|
| Sofa or loveseat | Take off feet, legs, removable arms (if possible), and cushions | Look for Velcro flaps, zippers under the skirt, and bolts inside the arm | Remove legs first to lower the height and clear the railings |
| Bed frame | Remove slats, center beam, and headboard from posts | Check for hook-in brackets behind the fabric and locking pins | Carry side rails upright to fit around corners |
| Dresser | Take out drawers, knobs or pulls (optional), and mirror topper | Check for screws behind drawers and anti-tip brackets | Remove drawers to make it lighter and prevent twisting |
| Dining table | Remove leaves, legs, and apron brackets | Look for threaded inserts under corner blocks | Flip the tabletop onto a blanket to avoid scratches while working |
| Bookcase | Take out shelves, doors, and backing panel (if possible) | Watch for staples and small corner braces | Support the frame so it doesn’t twist when you remove the back |
| Wardrobe/armoire | Remove doors, shelves, hanging rod, and base molding | Check for European hinges with release tabs and screws behind caps | Tape doors shut only if hinges stay on; otherwise, take doors off completely |
If you’re working with older solid wood, expect tighter joints that might not come apart easily. If you’re dealing with flat-pack particleboard, be careful—fasteners can strip out quickly. Go at a pace that matches the material.
Protecting Walls, Floors, and Furniture Finishes
Tight spaces make small bumps a big deal. Padding isn’t just for the furniture—it’s for the building, too. Drape a moving blanket over a banister or tape it to a door frame to stop slips from turning into chipped paint or broken trim.
Focus on protecting edges and corners of your furniture, since those hit first and show damage fastest. If you don’t have much padding, cover sharp corners and finished edges before you worry about the flat sides.
How you carry things matters as much as how you wrap them. Keep panels upright when you can, since carrying them vertically helps prevent bending and cracking. Talk with your helpers before you turn a corner. In narrow hallways, a slow, careful pivot is better than rushing and scraping both sides of your furniture.
Don’t forget about your own safety. Wear gloves to avoid splinters and staples. Closed-toe shoes protect your feet from dropped tools or slipping rails. If a piece feels wobbly after you take off some parts, stop and add support instead of forcing it through while it’s loose.
Reassembling When the Room Is Still Cramped
When you disassemble and then put furniture back together in a small room, use the same careful assembly steps as you did for disassembly. Start with the biggest pieces, but don’t tighten everything until the frame is square and in the right spot.
Use the “snug, then tighten” rule. Tighten screws and bolts until they’re firm, check that everything lines up, then finish tightening. This keeps holes from getting out of line and puts less stress on the connectors.
If you kept hardware bags with each part, putting things back together would be much easier. Lay a blanket on the floor to work on, use a small container for your tools, and don’t leave screws on the carpet where they can get lost. When you’re done, check for any wobble—this often means you missed a washer or need to turn a cam lock a little more.
When to Pause and Get Help
Sometimes, moving furniture in tight spaces gets risky fast. Heavy stone tops, glass panels, antiques with glued joints, and pieces with electrical parts (like powered recliners or adjustable beds) might need special tools or a second person who knows what they’re doing.
Even if you don’t have anything fancy, it’s smart to get service help if you have a long carry, narrow turns, poor lighting, or stairs with tight landings, especially in crowded areas like NYC. The goal isn’t to move fast—it’s to move safely, protect the furniture, and make sure everything feels solid when you’re done.
Tight spaces can be tough, but they reward careful planning. With good measurements, a small tool kit, clear labels, and patience, you can turn furniture that looks “too big to fit” into manageable pieces that move safely and go back together perfectly.


